Snowflake Tealights | Raechelle Bellus
I don’t know about you, but time is short for me this Christmas season, and I’m always looking for pretty homemade gift ideas that can be made in a jiffy, and these snowflake tea lights fit perfectly into both of those categories.

The cutfile to create this can be found in the Silhouette Design store (Snowflake tealight).
I used the Silver Stardream Metallic Cardstock, but there are so many beautiful metallic colors in the CutCardStock store that would be perfect for these, and they are on sale this month – so check them out!
These are simple to create and don’t take much time. Gluing is the only wait time.

The first step after you’ve cut your file is to separate the pieces. Once separate, you can begin the fun part – assembly!
Gently fold/open all sides (all fold go toward the cut front side) and then gently roll the base and loop the end into the pre-cut hole.

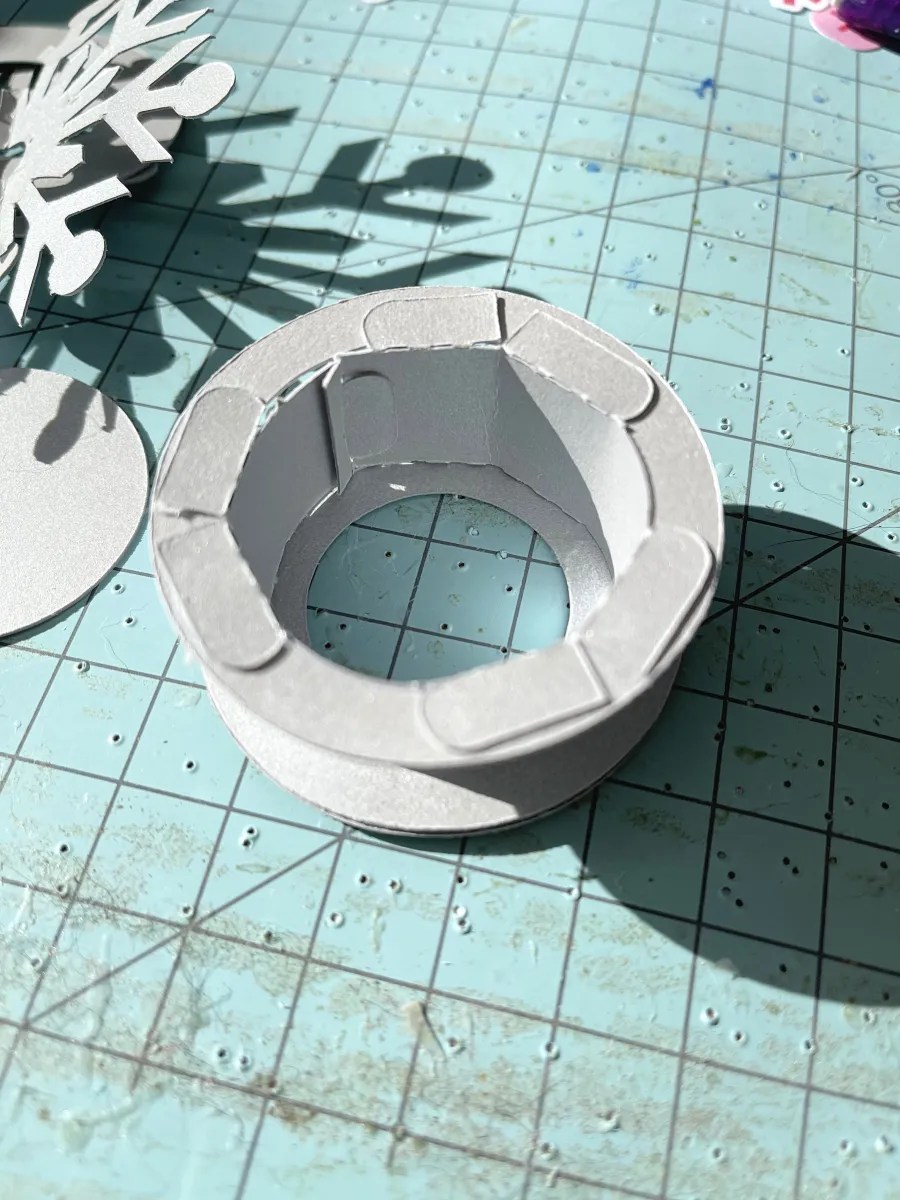
Next, you’ll be adhering the circle pieces with the larger hole to this rolled up base piece; the circle pieces will be inside the base piece and adhered with the tabs folded over them for structure, as you can see in the following photo. Do this to both ends.

Once both ends are in place, you’ll be adding the larger circular piece. Only do the bottom one at this time.
Once this base has dried, you’ll be dropping in your battery operated tea light as shown below.

To complete the base, add the last circle piece atop.

Now it’s time to assemble the snowflake. Fold all three snowflakes frontside in along the dotted lines. The back of each snowflake will be glued to another to create a trifold. As you can see in the photo below, one backside of a snowflake has been glued to the backside of another. The last snowflake backside will be adhered to the backside of both of these pieces.

Once dry, it is time to adhere the snowflake to the base tea light. Do this by adhering the pieces that will come into contact with the top ring and hold in place until firm.
You can always add some sparkle with rhinestones or sequins, but I used some white adhesive dots and allowed to dry.


The shimmer from the metallic cardstock adds such an elegance to these!
I’ll leave you with a final photo that I took in the dark. These would make a perfect night light.

Thanks so much for stopping by today! Don’t forget to stock up on some beautiful metallic cardstock this Holiday season!
Discover more from CutCardStock Blog
Subscribe to get the latest posts sent to your email.


