Winter Wreath | Raechelle Bellus
Hello! Raechelle here sharing a Winter Wreath I created using a couple of cut files along with several beautiful and vibrant colors of card stock from the CutCardStock store.

To create this wreath, I began by cutting the ‘Snowflake Wreath’ cut file from Paige Evans twice, using Basis 12×12 White Cardstock. I need to take a minute here – I cannot express enough how much I adore this white cardstock! It is the perfect base to use for 12×12 scrapbooking and it cuts cutfiles like a dream. It really is my go-to cardstock!
Next, I sprayed them with some sparkly white Shimmerz Spray mist. When dry, I added dimension by adding some foam dots to one of the wreaths and then adhered it to the other wreath.

Now the fun art- assembling the various components of the wreath! I cut an excess of them, because I wasn’t sure which color combinations I would end up choosing, and it’s so much easier to cut and have excess then having to go back and cut more.
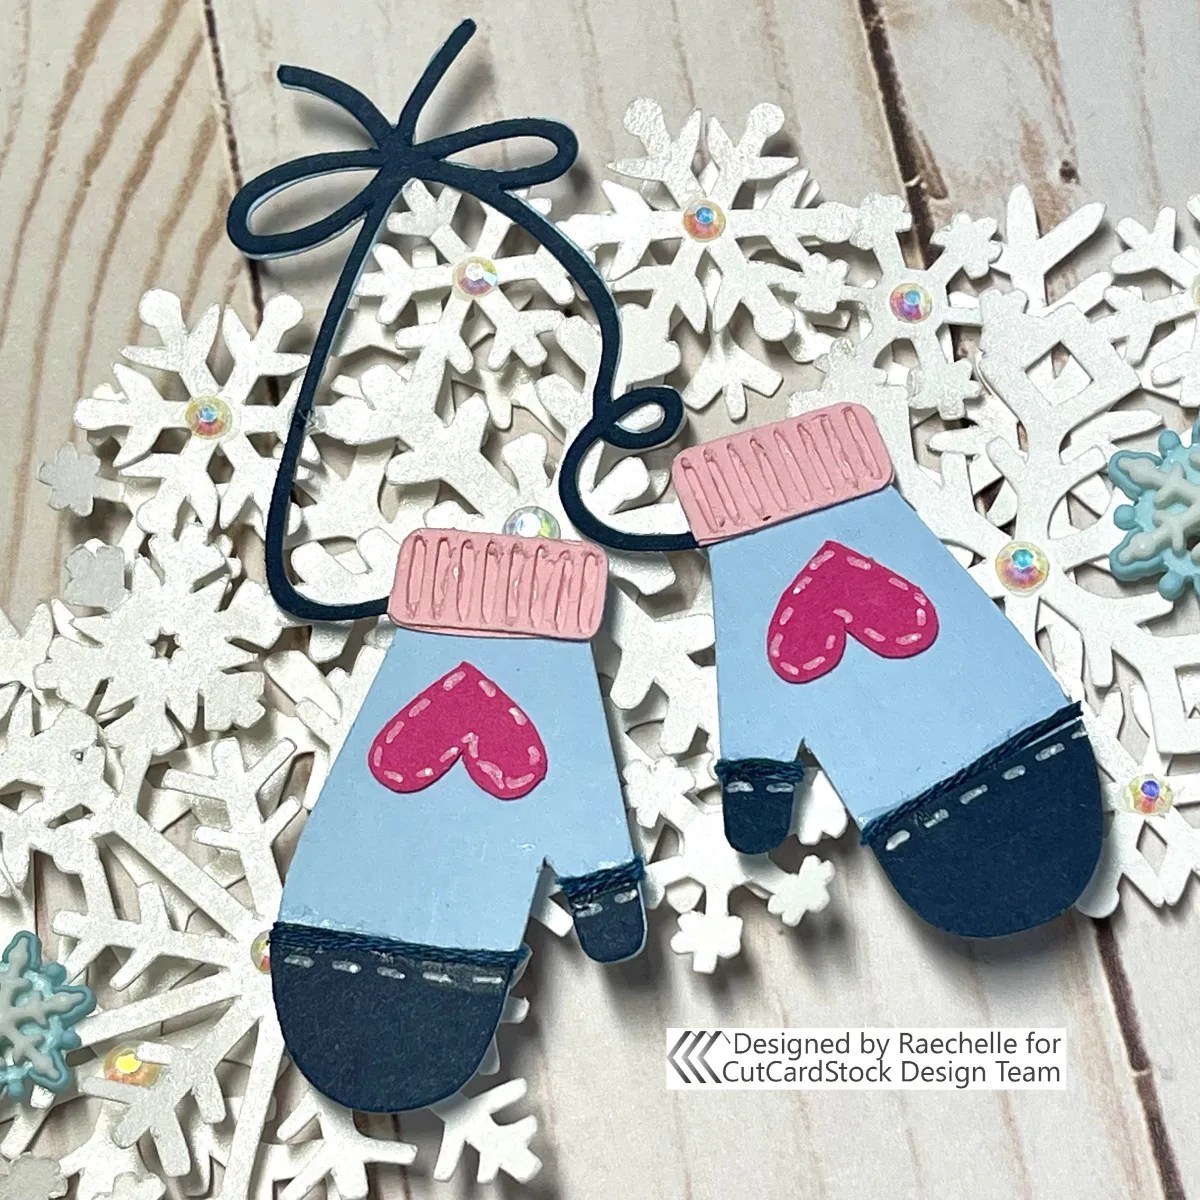
I used the following colors of cardstock from the CutCardStock store to create these pieces: Basis Light Blue, DCS Wild Blueberry, DCS Raspberry Ice, Basis Pink, Stardream Metallic Silver, and Basis White.

The ice skates were the first components I assembled. Layer the white boot piece onto the silver, and then add the snowflake design boot atop. I then punched holes to add some floss lace, using the precut holes as a guide. Once complete, they were mounted to a mitten string that was cut down.


Next was the assembly of the mittens. I cut and pieced them together using different colors. I added some white stitching to the hearts using a white gel pen, and used some excess pieces and floss to add more details.

Lastly were the hats. I just cut and layered pieces to my liking. The pom poms were made using floss. They aren’t the fluffiest, but they add another layer of dimension and detail that really makes the hats pop!
I creted the pom poms by simply wrapping some floss around my index finger several times, then removing it. A short piece of floss was added to the middle and tied, and then I just cut and fluffed to form the little poofs.


I finished off with some button and jewels. I hope you’ve been inspired to create a wintry project! This could also be used for a layout, which I debated, but for now it’s going to hang on the wall in my craft room. I might decide to adapt it into a layout in the future, especially if the perfect photos come along. 🙂

You can find all the beautiful cardstock colors I’ve used to create this project and so much more by checking out the CutCardStock store. Delivery is quick, and packing is done with so much care!
See you later in the month with another cute Wintery project.
Discover more from CutCardStock Blog
Subscribe to get the latest posts sent to your email.


