I enjoy the interactive fun that waterfall cards provide. I like to use a strong adhesive, like red line tape, to be sure the parts stay where they are supposed to. Sometimes the little pull tabs get quite a bit of use! I modified the card just a bit to fit on a gum package to provide a coordinating treat.
Scoring Board Red Line tape Other Adhesive (I used Tombow) Ribbon (about 4″) Two coordinating brads Mini stapler
Ink (I used CTMH cranberry, grey wool and Memento Tuxedo Black)
Stamps – no bigger than 1 ¾” for the card and no bigger than
1 ¼” square for the gum wrapper. (I used CTMH Winter Play and Our Craft Lounge Penguins)
Markers
For the treat: package of gum that slides out of a sleeve
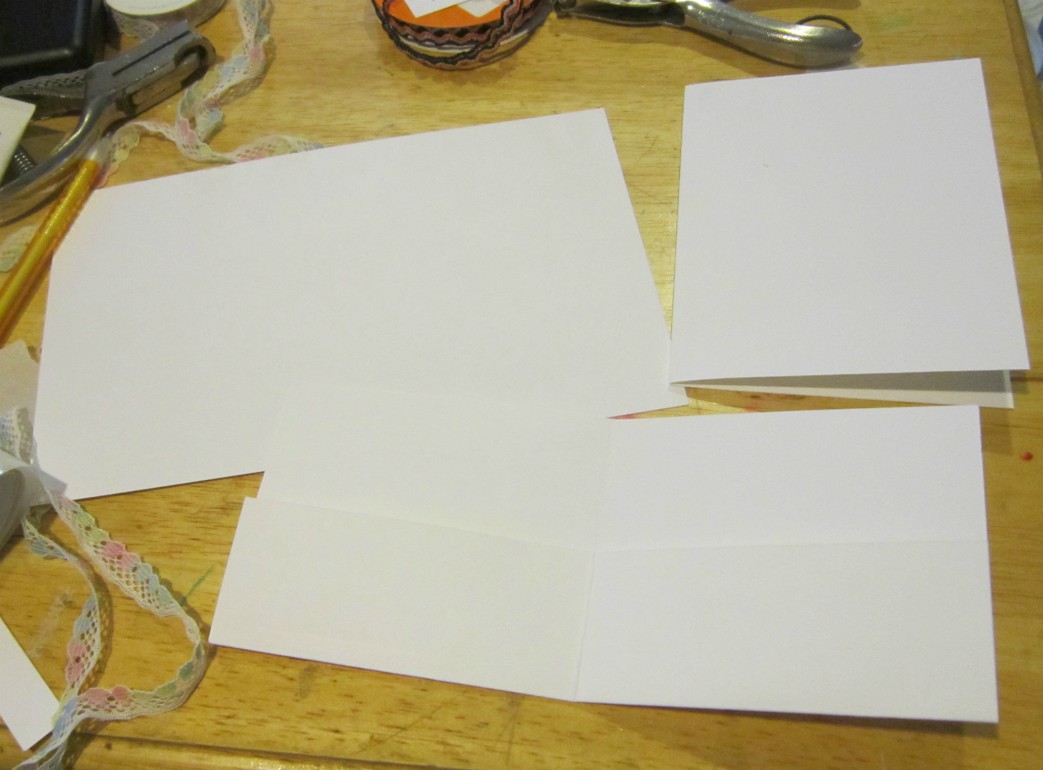
Step One: Cut the 8 ½” x 11” Flavours Gourmet Chili Arbol cardstock for your card base to 8 ½” x 5½”. Score.
Step Two: Cut the following from the 8 ½” x 11” Flavours Gourmet Squid Ink cardstock: 5 ¼” x 4″ and four 2″x 2″ pieces. From the 8 ½” x 11” Flavours Gourmet Smoked Sea Salt cardstock, cut a 9″ x 2″ strip, and a 5″ x 3 ¾” piece of cardstock. From the remaining Flavours Gourmet Chili Arbol cardstock, cut a 4 ¼” x 1″ strip.
Step Three: Stamp the Smoked Sea Salt cardstock if desired in a random pattern. Adhere to the 5 ¼” x 4″ Squid Ink Cardstock. Place the 1″ x 4 ¼” Chili Arbol strip about 1″ from the bottom of the layered pieces. Pierce holes and set brads through all three layers about ½”from the outer edge. Adhere to the Chili Arbol card front and set aside.
Step Four. Cut four 1¾”x 1¾” squares from the Malmero Perle Blanc Cardstock. Stamp desired images and color, if needed. Adhere each square to a 2″ x 2″ Squid Ink square.
Step Five: Score the 9″ x 2″ Smoked Sea Salt cardstock every ¾” starting at 2″ and ending at 4¼” . (2″, 2¾”, 3 ½”, and 4¼”) . Using the bone folder, be sure all score lines are crisp and are easy to manipulate.
Step Six: Decide which order you’d like your waterfall pieces to go in. Adhere the last piece to the 2″ scored portion on the 9″ x 2″ Smoked Sea Salt cardstock strip. Then, adhere the next square just below the next score line. I used red line tape on the scored strip to be sure I didn’t accidentally put glue where it doesn’t belong. Continue until all four squares are glued on.
Step Seven: Fold the 9″ x 2″ strip at the 4¼” score line (nearly in half). Slide the unscored portion behind the Arbol Chili strip on the front of your card. Secure the bottom of the last stamped image to the strip using red line tape. The lower edge of your stamped image should be level with the bottom of the strip.
Step Eight: Fold the ribbon (about 4″) in half and staple it to the bottom of the 9″ x 2″ strip. This will be the pull tab for the waterfall.
To make the gum wrapper cover with waterfall design, the process is the same, but measurements are as follows:
Chili Arbol cardstock: 7 ½” x 3 ¾”, ¾” x 2 ¼” Squid Ink cardstock 2 ¼” x 3 ½”, 1 ½” x 7 ½” Smoked Sea Salt cardstock: three 1 ½” x 1½” squares Malmero Perle Blanc cardstock: three 1¼”x 1¼” sqares
Once you’ve created one waterfall card, the logistics are nearly the same, but score lines and sizes may differ. The directions basically follow the same way as above. First, score the 7 ½” x 3 ¾” Chili Arbol cardstock at 2″, 2 ¼”, 4 ¾” and 5″. This will help the cardstock wrap around the gum package. Adhere to gum package with red line tape.
Next, staple the ¾” x 2 ¼” Chili Arbol cardstock to the 2 ¼” x 3 ½” Squid Ink cardstock. Adhere to the top of the gum package.
Score the 1 ½” x 7 ½” Squid Ink cardstock at 1 ½”, 2 ¼” and 3″.
Follow the above instructions for matting and placement. When assembled, pull the gum out from the container slightly. Staple the ribbon to the end of your 7½” Squid Ink cardstock strip and the very edge of the gum.
In honor of the beginning of the NEW YEAR 2008, we are offering an $8 coupon good on an order over $60. Hurry and get your savings as the coupon expires:Monday January 14, 2008.Coupon code to enter at Checkout: NYRIn addition to our New Year’s coupon, the featured items on our homepage is the Greengrocer’s…
On the 2nd Day of Christmas, CutCardStock shared with me: A sparkly snowflake tag ready to tie on a special package, or even the tree! Discover more from CutCardStock Blog Subscribe to get the latest posts sent to your email. Type your email… Subscribe
Welcome to the Holiday Countdown series for 2018! I hope you’re enjoying these quick and simple project ideas. I’ve created some wooden ornaments and wanted to share this idea with you.Do you ever wish you had a little something to give friends and neighbors over the holidays? Maybe you don’t exchange gifts but want to…
CutCardStock.com’s NEWEST Eco Friendly Products are made fromBAMBOOWe had an Invitation Designer, Stacey Ketcham from North Olmstead, Ohio, try out the Bamboo cardstock with her LETTERPRESS Printing. Stacey said that the paper and envelopes were beautiful. Stacey wrote a little about herself at her shop PRINTED JUST FOR YOU: “Anything you see in the store…
Good Morning! Jamie back with you today sharing another basket using the gorgeous Curious Metallic Cardstock! The weight of this cardstock is perfect for many things, including making 3D projects! I love the sturdiness that this cardstock gives my 3D projects, it really makes them feel professional!Tutorial: For my basket, I am using Samantha Walker’s Woven Easter Basket…
Hello friends! It is Lisa Lahiff here today with a card that is just perfect for that super hero in your life, and it might just make him blush too! hehehe! Let’s get into the how to for this card shall we?1. Choose your colors, I am using the Basis Card stock in: Gold, Navy,…




Just a quick note to let you know that a link to this post will be placed on CraftCrave today [27 Oct 02:00am GMT]. Thanks, Maria
This is so cool. I can imagine all kinds of applications. Christmas is so cute with it.Eli