Row your Boat….the making of a Box Card.

Hello all, Agnes here sharing her first Box Card. Yeap! You heard it right. These Box Cards have been around for a while and despite I always wanted to make one I never did until now.
I will try to explain the process as best I can, but you can always search for them online. I bet you can find a better tutorial, but for what is worth, here is how I made mine.
The above collage shows the template used, some of the embellishments, how to fold the insert and how it looks inside the box.
You are going to need 2 pieces of 8-1/2″ x 11″ cardstock or one 12 x 12″.
Cut at 10-1/2 x 5-1/2″ for the box itself and another piece at 7-3/4″ x 2-7/8″- this will be the insert.

(click pic to zoom in)
I am linking two templates: one for a die cutter and one for the template and tut and, as I said before, you can always search for other templates or videos online.
The rest is to make it pretty, right? That is where the fun begins.
I used the Classic Crest Recycled cardstock for the base as it is a 100 lb cover weight cardstock and it gives a nice sturdy base for this Box Card. The cardstock I used for the panels and die cuts is the super nice Basis. I love this cardstock too. It has a nice subtle texture and it cuts great with my die cutter machine, the Cricut Explore. I set the dial to card stock, because this is a very nice 80lb cardstock.
A few of the embellishments (die cuts) were made with thin dies or with my die cutter. The only exception is the boat which is from a clear stamp.
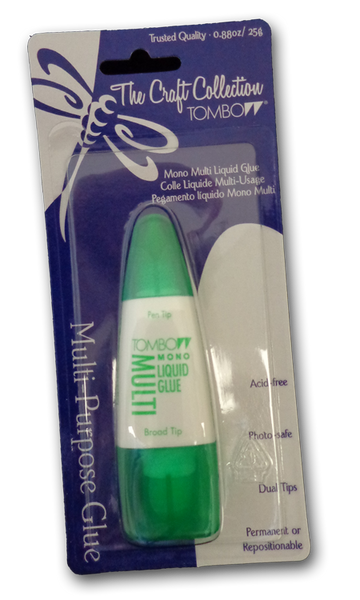
Trusty Tombow was used to adhere all the die cuts and panels, a bit of double sided Score-Tape for the 1/2″ strip (see template) and a micro glue dot (1/8″) for the clamshell plastic strip I used to prop the sun and clouds. Nothing like a glue dot for this part.
This is how the back looks.
I thought they were harder to make but I was wrong. Even the template with all the measurements is easy to follow. It is a fun card indeed!
I think this Box would make a great Father’s Day gift.
Thanks for stopping by and please, if you have any questions about the box making tutorial, please do not hesitate to contact me. I really doubt you will have any difficulties, because did I mention how easy it is to make? 🙂
Cut Cardstock Products Used:


Discover more from CutCardStock Blog
Subscribe to get the latest posts sent to your email.

Love box cardsand this one is really cute!Carla from Utah
Thanks Carla, thanks so much. I am happy to hear you liked it.
Wow! Love this design! Great job Agnes!!