Embossing and Ink Blending on Metallic Cardstock

Metallic cardstock is gorgeous, especially when you can pair it with embossing and ink blending! For today’s card, I used a combination of dry embossing, heat embossing, and ink blending to make this beautiful card.
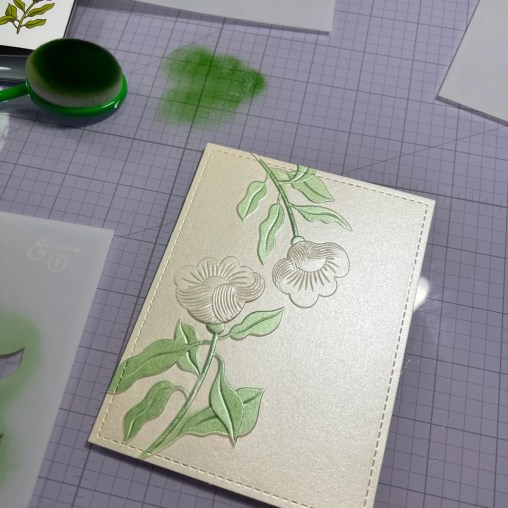
To start with, I pulled a 3D embossing folder from my stash that has coordinating stencils. I am using the Stardream Metallic Opal cardstock for today’s project. I cut an A2 stitched rectangle with a die and then put the panel through my die cutting machine in the embossing folder to get this beautiful result! This would actually be a beautiful card on its own – add a sentiment and you have an elegant card perfect for any occasion.

But, why stop there? I used the coordinating stencils to color in these flowers with shades of greens and purples.


Once the ink blending was all done, we just need to add a sentiment. I thought that gold embossing would add some more elegance to this shimmery card. I lined up my sentiment on the panel where I wanted it to be using my Misti. I love using my Misti to stamp, especially after I have already done a lot of work on the panel, and want to make sure I get the sentiment stamped just right.

After picking up the stamp with the door of my Misti, I used my anti static powder tool over the area I am stamping on prior to stamping. I used embossing ink and then coated the area with gold embossing powder and then heat set it.

The last step was to adhere the panel to a card base. I keep a stack of the Bulk Blank A2 folded cards (110#) near my work area, because they are so convenient! I love that they are already cut and scored – you just fold and attach your panel!


Discover more from CutCardStock Blog
Subscribe to get the latest posts sent to your email.


