Happy Easter Wishes!
Metallic Cardstock + Embossing Folders = AMAZING!

Easter is just around the corner, bringing spring weather and bright colors. The Curious Metallic Cardstocks are a great way to add that extra shimmer and elegance for all of your Easter and Spring projects!
I started with the background first, and used a 3D brick embossing folder to add texture to a piece of the Curious Metallic Virtual Pearl cardstock. Prior to using the embossing folder, I used a stitched rectangle die to cut the cardstock to the size panel I wanted. I would recommend cutting the cardstock before you use the embossing folder. If you die cut after you use the embossing folder, it can flatten the embossed imaged a bit, especially with the 3D folders. I also misted the cardstock lightly with water before putting it through my die cut machine with the embossing folder. This helps make the cardstock a little more pliable so there is less cracking when using the 3D embossing folders.


I LOVE LOVE LOVE the effect that this embossing folder has on the metallic cardstock! Look at that yummy, shimmery, amazing texture!
I wanted to mat this onto a piece of the Curious Metallic Violette cardstock. This is a GORGEOUS, BEAUTIFUL, AMAZING purple metallic – I LOVE PURPLE. So, obviously, we don’t want to waste any of that purply goodness.
Here is a trick I use sometimes when making mat layers, especially with specialty cardstock. I use a smaller rectangle die inside the die that I am using for my panel – so it looks like we’re cutting out a frame, but once we mat our pearl piece onto that, noone will ever know that the middle has been cut out!


But you are still left with a piece of that purple metallic cardstock to use on another project, or another piece of this project!

I used a die set from Waffle Flower to cut out the basket, bunny, bow and several eggs from the Curious Metallic Cardstocks – Virtual Pearl, Pink Quartz Blush, Cryogen White, Violette and Nude.


I wanted to have eggs of all different pastel colors for my Easter basket so I did some ink blending on the eggs and then added some ink splatters in darker shades of the same color.


I love how these eggs turned out – you can still the shimmer!!
To add a little bit of texture to the basket, I just used some light brown ink to blend some ink around the edges and the handle.

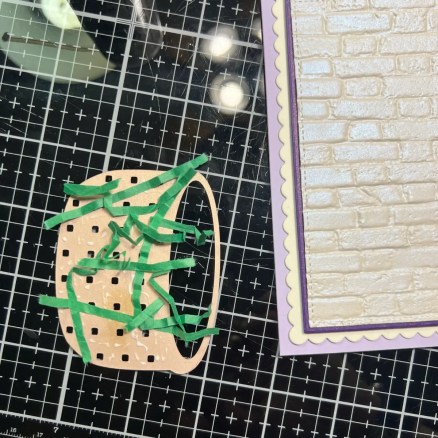
I wanted to nestle my bunny and eggs in some grass to make it look like a real Easter basket – I had some of that shredded paper in green that is used for gift baskets and that was the perfect addition! I started by just adding some liquid glue to the back of my basket and gluing down the grass. I did add some more at the end after I glued the bunny and eggs down – at that point, I just put some pieces here and there to make the basket look full.
Once I had all my pieces die cut and ink blended, it was time to assemble! I used some foam adhesive to attach the matted brick panel to a light purple card base (A2 size).

I used a combination of liquid glue and foam adhesive to add the basket and all the elements to the card. Reverse tweezers are a great tool for this to help hold things in place for a few seconds while the glue dries. For the sentiment, I embossed Happy Easter onto the Pink Quartz Blush cardstock, cut it out with a die and used foam adhesive to pop it up on the card.
And voila – the card is complete! Anyone would be thrilled to receive this cheery, shimmery, Easter card. I think I will probably send this one to my niece, she loves purple! (Wonder where she gets that! lol)

I’d love to see all of your shimmery, metallic (and especially PURPLE) creations! Tag me on instagram @purple_puppy_papercrafting.
Happy Crafting!


Discover more from CutCardStock Blog
Subscribe to get the latest posts sent to your email.


Love it! and WOW at the brick embosing!!
Thank you Misty! and Yes, that brick embossing folder with this metallic cardstock is AMAZING! 🙂 I wanted to emboss all the Curious Metallics now
Love love love!
Thank you! <3