Paper Pumpkin Centerpiece

I stamped a subtle image on each strip using different colours of ink. I lined up the strips and hole punched the lot of them with my Cropadile. I tell you what.. I LOVE that thing. So easy and helpful to use!
Once they were punched I inserted a brad into each end with the tongs facing out. Then curved around the strips to make a little ball.
I also added some raffia under the tongs and curled it around a paint brush to give it some life.
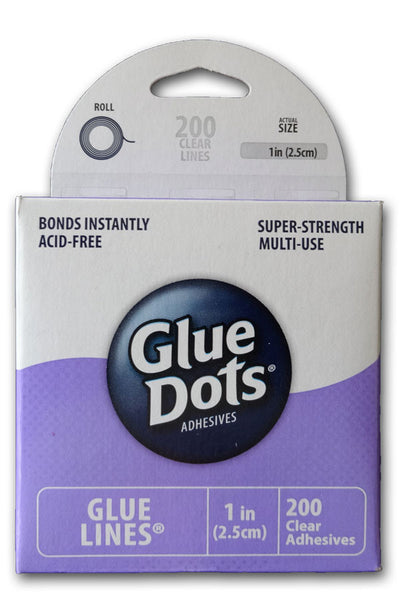
For the stamp I cut some card stock at an angle (just on one side) and curled it up. Gluing it down with some Glue Dots glue lines found in the CutCardStock.com store. I then used some hot glue to adhere it to my pumpkin. The glue helps keep everything in place.
The only thing left to do was to enjoy them! I set up my table and these are now adorning the center. A quick project for anyone with a desire for fall decor but with limited time. They whip up so fast!
How do you like to decorate for fall? Or are you like me and live in a “fall free” environment? If you do, then this is a perfect little project to get into the fall spirit! Don’t forget CutCardStock.com has special deals each month. Be sure to hop on over to the store and see what on for this month! And be sure to keep checking back. This month is almost over which means we will have a new theme of projects to share with you next month and on into the new year. There will be a lot of holiday inspiration to share with you.
Thanks for joining me today! I hope you have a great week!
xoxo
k
CutCardStock.com products used for this project:


Discover more from CutCardStock Blog
Subscribe to get the latest posts sent to your email.
So adorable project Kristie, love the paper pumpkins!
Love this project. marta