Ruffled Embellished Ribbons
Today I want to share an easy tutorial with you on how to make ruffled embellished ribbons.
I love the look of ruched ribbon, and adding pearls (my favorite embellishment) seemed a natural thing to do. You can also add glass beads, charms, or any other kind of embellishment that has a hole for sewing it on.
I chose Noble Peacock Seam Binding from Really Reasonable Ribbon for this card. I love the color and the ease with which it gathers.
Here are the steps:
1. Collect supplies needed. Cut a length of ribbon 2-3 times longer than you want for the final length (Do you like my vintage spool of thread? All wood. Miss those!).
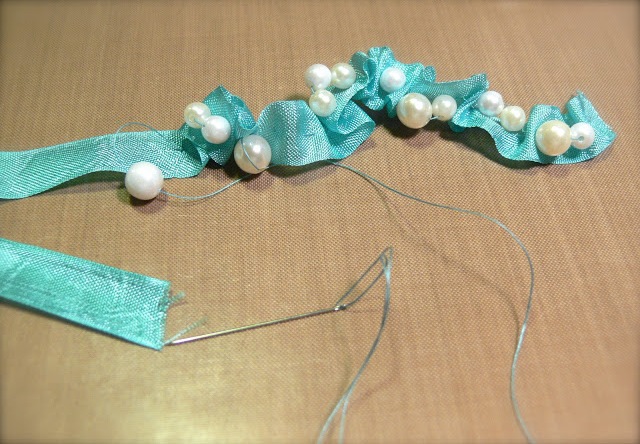
2. Tie a knot at the end of your ribbon, and pass through the ribbon a a couple of times, leaving a long enough tail to tuck under a layer or behind your cardstock.
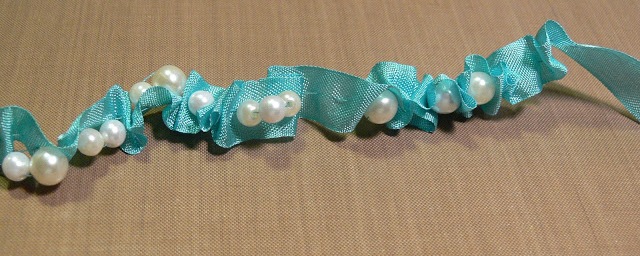
3. Thread one or two pearls or beads onto your needle and pull tight enough to make the ruffle. You can have loose or tight ruffles or a combination.
Here is an example of the kinds of stitches I took (not planned, not straight, not even! Easy!)
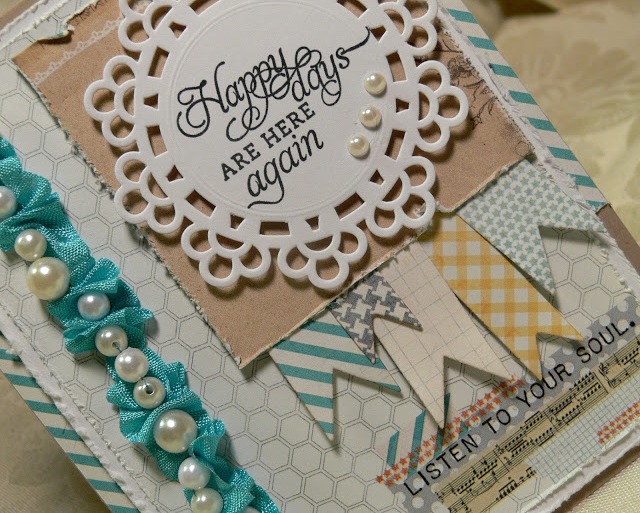
I used 1/4″ Scor-Tape and attached a piece to my card where I wanted the ribbon. Then I carefully arranged and laid it out on the tape to adhere. Tuck in the other end and fasten off.
My card is made using several designer papers. The main sentiment is stamped on Pop-Tone Sweet Tooth, with the base Royal Sundance Fiber Kraft.
Here is the final project:
I hope you will try it!


