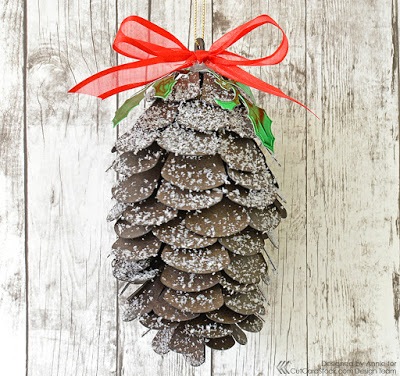
Snowy Pinecone Ornament
Looking for a unique gift or décor idea for the holidays and think you don’t have enough time left for a handmade item? This simple wintry pinecone ornament is easy to make and super festive thanks to gorgeous shimmery Stardream Metallic Cardstock.
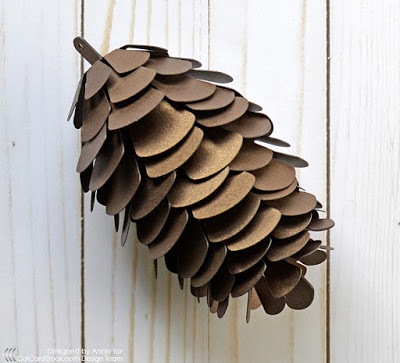
Start by cutting the pieces for your 3D pinecone from Stardream Metallic Bronze Cardstock. I used my Silhouette machine to cut this design, but you could also use nesting flower dies with a manual die-cutting machine if needed.
Fold the “petals” of each layer downward, and then adhere to the central spool of the design with hot glue.
Once all of the layers have been adhered, your ornament will look something like this. The shimmery flecks in this bronze cardstock really make the pinecone come alive!
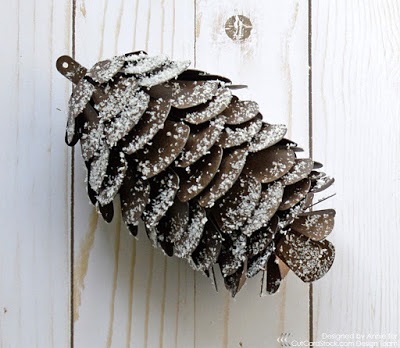
Next, take your pinecone to an area with good ventilation and spray it thoroughly around the outside with spray adhesive. Then, lightly sprinkle artificial craft snow over the entire piece (for a different look, you can also use liquid glue and glitter).
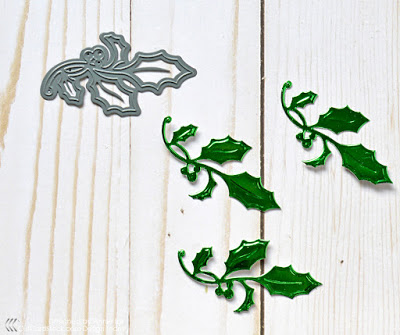
Die-cut several holly branches out of green foil cardstock (the perfect Christmas green!).
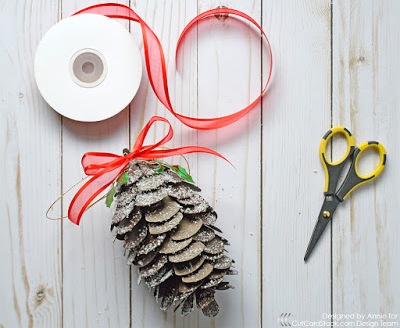
Adhere the holly branches around the top of the ornament with liquid glue. Tie a big loopy bow around the stem with red satin edge organza ribbon and add gold twine as a hanger.
The finished ornament is a little over 6 inches tall (you can reduce the size if you’d like), making it an impressive gift for friend or colleague and the perfect size to decorate a larger pine.
I hope you enjoyed this snowy pinecone ornament project and thanks so much for stopping by today! You can visit the CutCardStock store to purchase any of the supplies showcased today and remember that Stardream Metallic Cardstocks are on sale this month!


